All topics
The network drive
Files and websites
Cameras and sensors
Time Machine Backups
While sharing, the device advertises itself as a Time Machine destination, ready as installed, so a Mac on the same network can back up to the drawer device.
Setting up the Mac
- Open System Settings → General → Time Machine and click Add Backup Disk…
- Pick the "Time Machine" share on "NAS Reborn (model)", such as "NAS Reborn (iPhone 6s)", from the list of available disks.
- Sign in with a device account when asked.
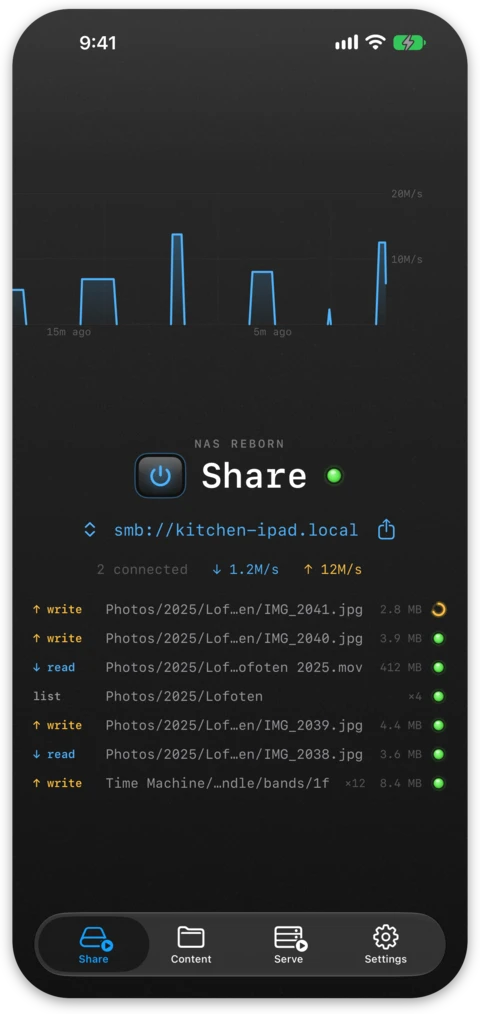
The backup folder is created on the server automatically the first time the Mac connects. From then on it behaves like any other Time Machine disk, with hourly backups while the Mac is on the network and restores through the normal Time Machine browser or during migration to a new Mac. While a backup runs, its writes show on the server's Share tab.
Space to grow
The backup history of a Mac is usually larger than the internal storage of an old phone, so you should put the destination on a USB drive for anything more than a token backup. When a Mac first sets up Time Machine, the app offers to move the new backup folder onto a drive. The same move is available at any time from the screen of the folder and it keeps the share name and addresses, so the Mac keeps backing up to the same destination. The destination picker on the Mac lists only this "Time Machine" share, so a backup reaches a drive by moving this folder there.
Any device the app runs on can host the backup, from an iPhone 6s upward on iOS 15 and later, and the drive's format does not matter. A drive that already works for general storage serves backups as it is, exFAT included, with no reformatting. See External Drives for adapters and power.
The backup folder does not count against the free tier's folder limit, and the free tier's size limit covers web and S3 serving only, so files arriving over SMB, including Time Machine, are written without a cap. The folder is created for you the first time a Mac backs up, and Time Machine manages its own space within the disk from then on, thinning old backups as the disk fills. On the free tier, serving more than two other folders from the device's own storage keeps the Mac from connecting to any share, Time Machine included, until you turn one of them off.
If the drive disconnects
A Time Machine backup is a delicate structure, and a disconnect midway through a write to the drive can corrupt it. To avoid that, the server writes each backup to the device's own storage first, where the write is safe, then copies it to the drive in the background, retrying until the drive holds a sound copy. So unplugging the drive mid-backup does not harm the backup on it: the writes already made wait on the device and reach the drive when it returns. The interrupted run does stop, and Time Machine starts a fresh one from the intact backup at its next scheduled pass; nothing on the drive is left broken.
Keeping backups reliable
A backup also ends if the server device itself stops answering mid-run, whether because the app left the screen or the battery ran down. Time Machine starts fresh at its next pass, so this costs time rather than data, and two habits keep a run from being cut short:
- Keep NAS Reborn in front on the server device. Sharing stops shortly after the app leaves the screen, so use Guided Access or Single App Mode as described in Always-On Serving. A Mac serves in the background and only needs the app running and its own File Sharing off; see NAS Reborn on a Mac.
- Keep the device plugged in, so an empty battery cannot end a backup halfway.